Adding a Splash of Color
It’s time to spruce up our page with a splash of color! In this section, we’ll learn how to use the browser inspector to preview colors on our page in real time. The browser inspector is an incredible development tool available in most browsers.
Note on Browsers Chrome and Firefox have the best developer tools, so I recommend using one of those browsers. They are both free to download. However, the Inspector is also available in Edge and Safari. In Safari, you may need to enable it in the settings.
Choosing a Background with the Inspector
First, let’s add a background color to the body, to change the background of the entire page. I will set it to white for now (#ffffff) - we will change this in a minute.
body {
  background-color: #ffffff;
}
Since this affects the body, place this rule at the top of your CSS. Generally, the more of the page something affects, you’ll want to put it near the top so it’s easier to find and see.
Now, open the file in your browser, or refresh the page if you already had it open. Right-click anywhere on the background of the page, and select “Inspect”. (In some browsers, the option may be called “Inspect Element” instead.)
This will open up a new panel which might open on the bottom or side of your browser. This panel is called the Inspector, and comes with several tools to poke around the code for your page!
The Inspector has a few different sections. In one section, you’ll see the HTML code of your page, with an element highlighted. If it’s not already highlighted, click on the <body> tag to highlight the body element.
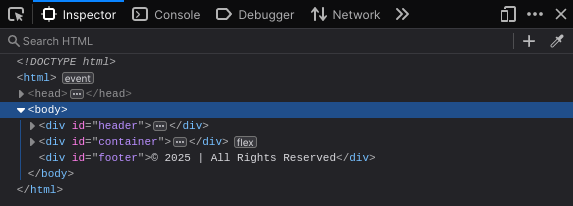
Note These screenshots were taken in Firefox, but other browsers have the same features; it will just look slightly different. I am also using dark mode; your inspector might be white instead.
Now, either under it or to the side, you’ll see a separate section that has all the CSS code that applies to the body. It will look something like this:
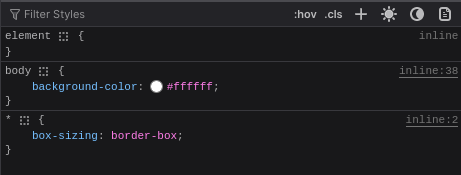
Note You might see some CSS here that you didn’t write. This extra CSS code (if you have it) comes from browser extensions and can be safely ignored.
The CSS you did write is there! And not only can you see it here, but you can also edit it and see changes on the page immediately. Next to the #ffffff, there is a little white circle or square. Click on it to bring up a color picker. Try using it to choose a different color. As you click on different colors, the background color of the page will change in real time!
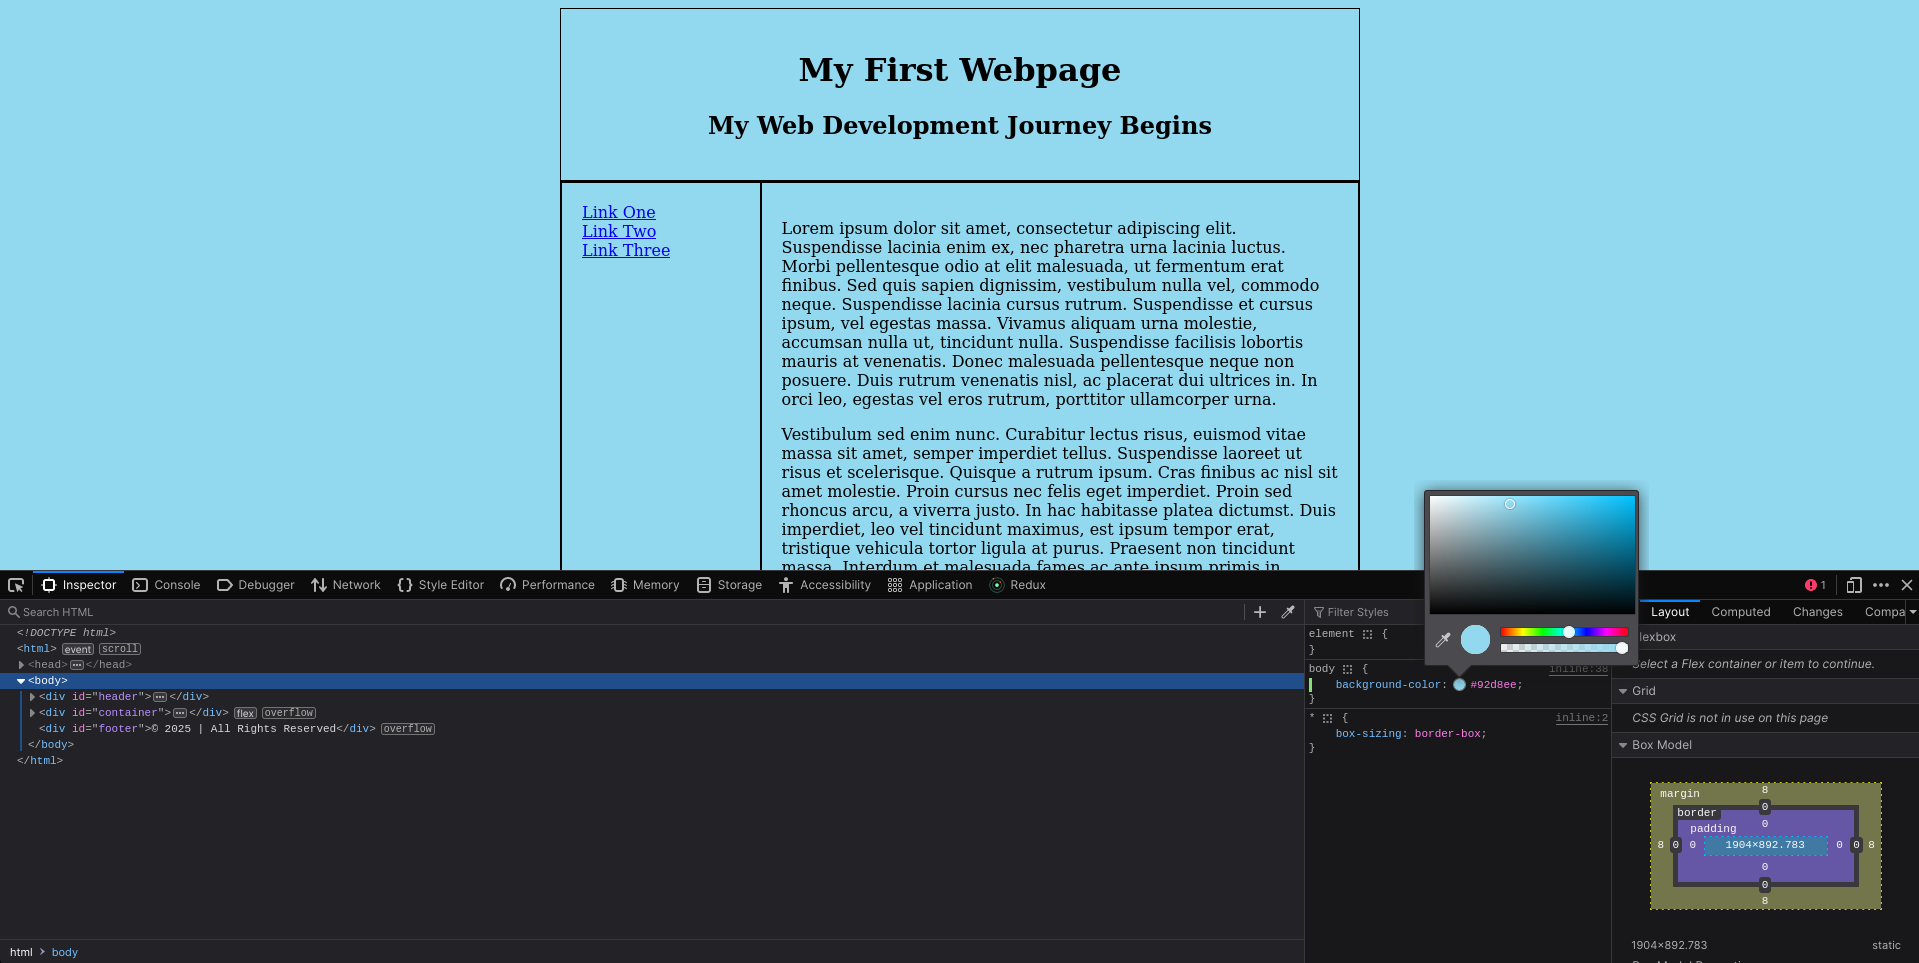
These changes are only happening as a preview in your browser. Once you pick a color you like, you still need to edit the CSS in your actual file to use that color. However, the browser inspector is a much faster way of trying out colors than editing your file and refreshing every time!
Go ahead and use the Inspector to pick a color you like for the background. Then, copy the hexadecimal code into your HTML file.
Sprucing up the Page Sections
Next, let’s add some backgrounds and borders to each page section using the inspector. This time, right-click on the header and choose Inspect Element. Make sure that <div id="header"> is selected in the HTML panel. Now, take a look at the panel with the CSS.
Find the section of CSS that starts with just #header, and then move your mouse right under the last rule (text-align: center; in my screenshot) and click. A small text box will appear where you can type a new CSS rule.
Type background-color and then hit the TAB key. It will automatically insert a colon and move your cursor after the colon. Type #ffffff and hit enter. Now, you should see that the header of your page has a white background.
Now, click on the white circle to open the color picker. You will see a little eyedropper icon. This button allows you to pick your color from anywhere on the page. Go ahead and click the eyedropper, and then move your mouse over the webpage.
Click on the background of the page to change the header’s background color to the page background color. Now, go back to the color picker and adjust it to be a little darker. The eyedropper is useful when you want to base the color you’re picking off a color that’s already on the page; for example, if you want it to be a different shade of the same color.
Don’t forget to go back and write the CSS into your file when you are done.
Take a moment now to finish picking background colors for all four sections: the header, content, sidebar and footer.
Toggling CSS
There is one last trick I want to show you in the inspector: how to toggle CSS rules on and off, to preview what it would be like if we removed a CSS rule.
At the start of this project, we added borders to all of our divs so that we could see where they are. Let’s try previewing what it would be like if we removed these borders.
First, make sure any div is selected in the HTML panel of the inspector. Now, in the CSS panel you will see the line of code that adds the border. Go ahead and hover your mouse over it, and a checkbox should appear next to it. The checkbox is checked, which means the rule is active. Click on it to uncheck it, and you’ll see the borders on your page disappear.

What do you think? Personally, I think it looks cleaner without the borders. If you like it as well, then go back to your HTML file and delete these lines of CSS:
div {
  border: 1px solid #000000;
}
Now, this is what I have for our webpage. I went with a blue color scheme for this example. What colors did you choose?
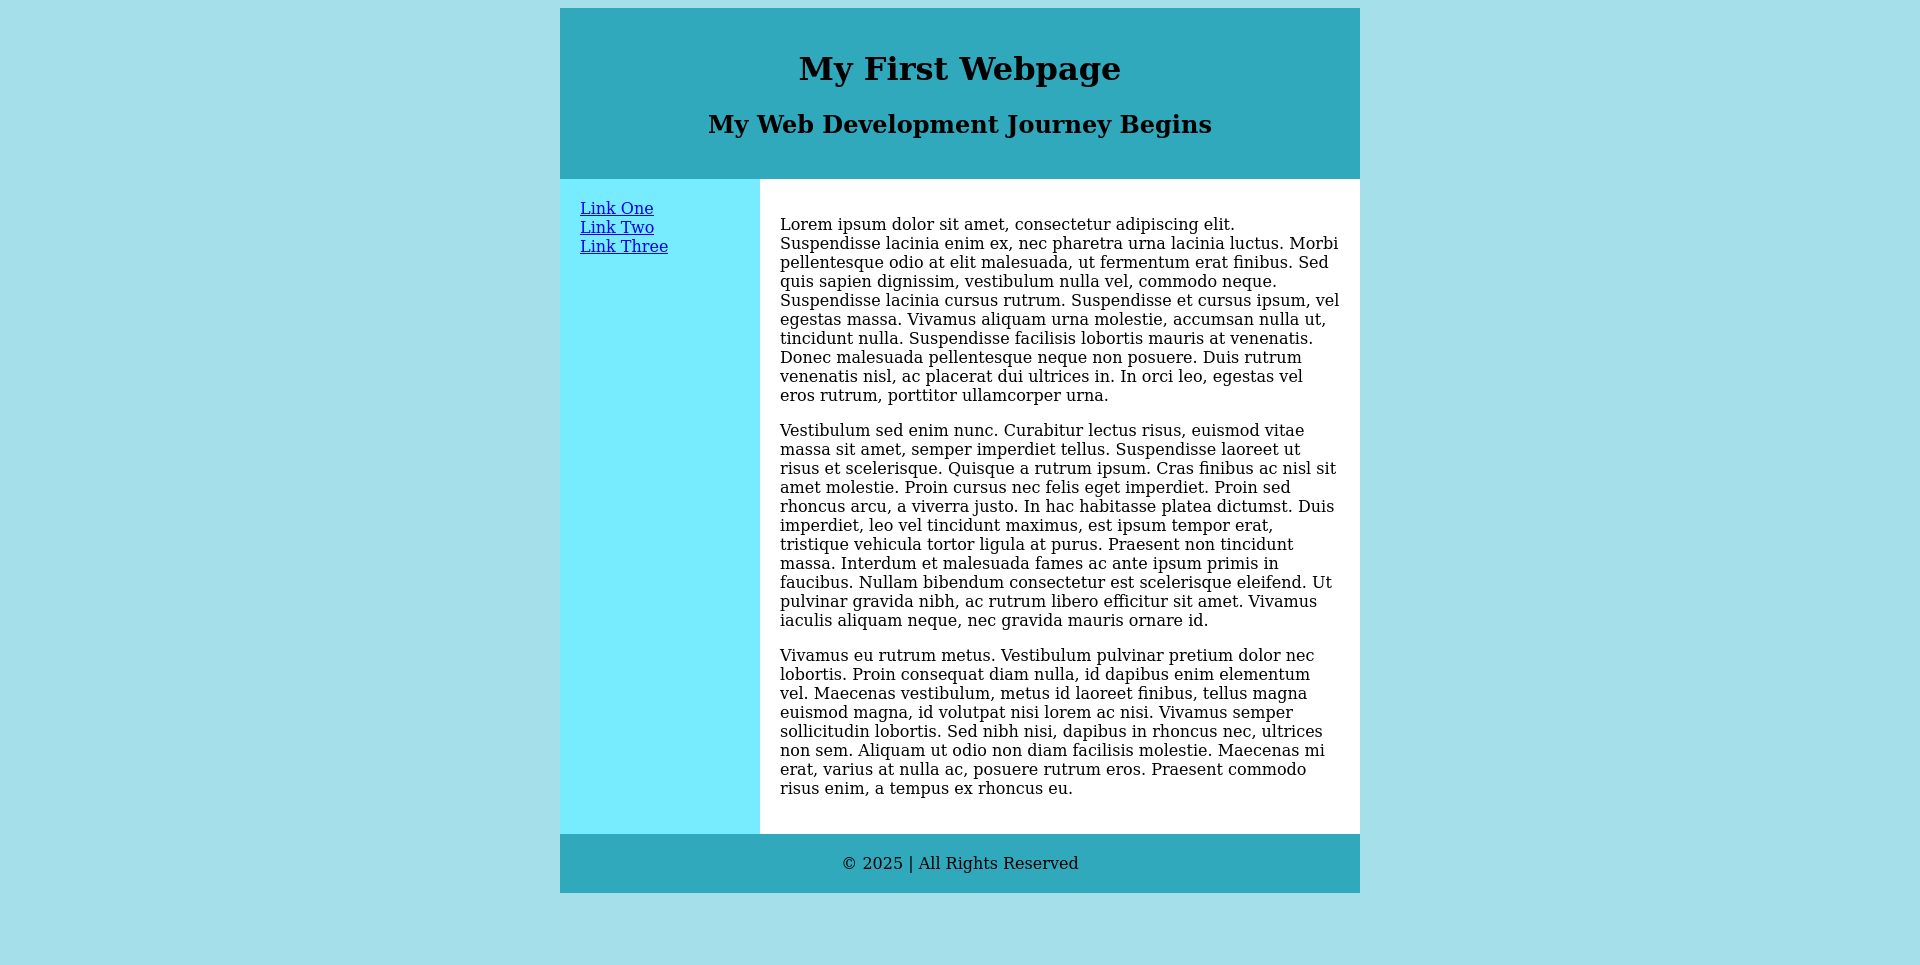
You can download the file I ended up with here, and view a live example here.